
Track laying started at the join to the fiddle yard - which I connected with the split hinges. A piece of copper-clad PCB was stuck firmly down and the rails soldered to it aligned to the FY track.
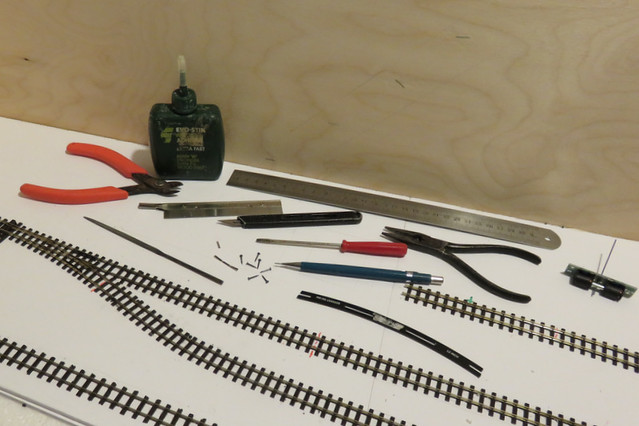
Tools of the job. I use Xuron track cutters which are quick, quiet, and clean. Do watch for flying off-cuts though, and a file is used to clean up the end of the rail so a fish-plate fits. A razor saw is useful to mark the rails where to cut them with the cutters, the scalpel is for trimming or separating sleepers, or opening up the chair to take a fish-plate. It's also used to cut holes in the foam-core board. The 12" radius tracksetta is a useful guide that curves are no sharper, though there are few curves on this layout, for bits that should be straight a steel ruler along the rail is a useful check.
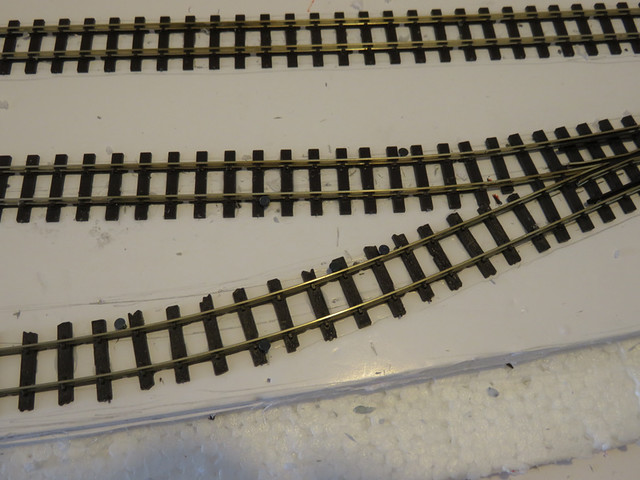
Track is glued down but first all the pieces are cut to size and laid "dry", held in place with track-pins beside the rails and sleepers - this is enough to hold the curves and position. You can just see the pins either side of the curves here. These pins are Gaugemaster or Hornby and are reasonably chunky - not the flimsy Peco ones. Track laying starts with the "main" line and loop, with sidings positioned later. Much time was spent carefully checking and adjusting the position of the points and curves so there is sufficient clearance, the loop is just long enough for 3 Peco L&B coaches (not that all trains will be that long), while at 5 inches the release should take any loco I anticipate.
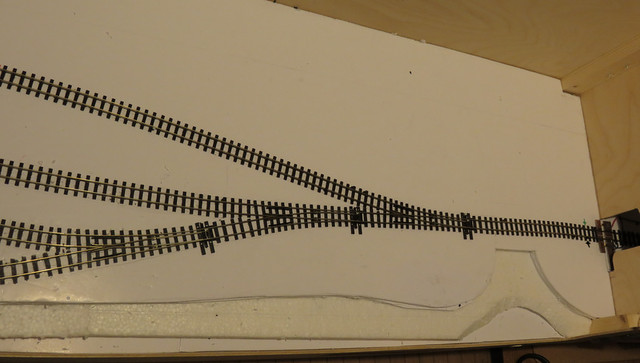
With the track cut and positioned holes were cut for point motor actuator rods, and for the point vee/frog wire that comes pre-attached to these new Peco points. The track was then inverted and PVA glue run along under the rails (keeping clear of moving point parts), then carefully positioned on the marks and between the pins, being weighted down (tins of beans did the job) while the glue sets. The pins can then be removed.
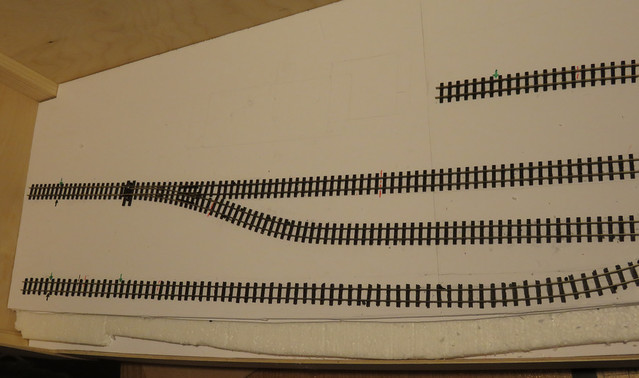
While most of the track is the neater "mainline" style, the front siding uses the older "crazy" irregular track for an older less well-kept effect.
Track feeds (arrows) and rail gaps (orange lines) were marked out before sticking the track down. Where gaps were at a join - such as at the loop release point - insulating rail joiners were used. However where gaps fall in plain track I prefer to cut them later.
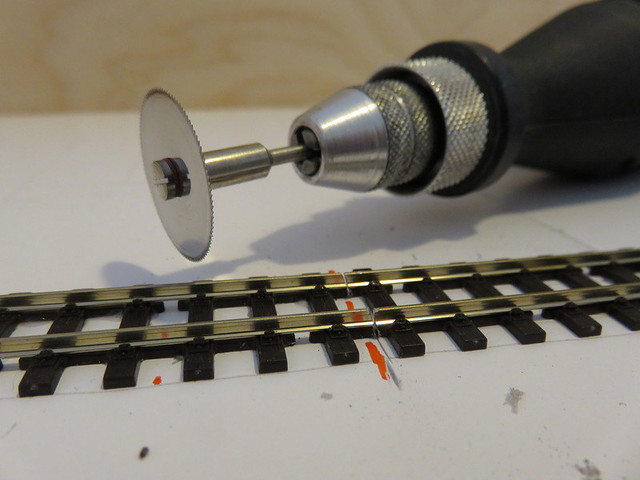
I used to use a slitting disc, but having found these useful disc saws at Squires I've found that, with practice, they can make a neater cut, and with less risk of shattering. I'll probably run some epoxy glue into the gap at some point to make sure it doesn't close up if it gets warm.
No comments:
Post a Comment